
Reviewed · PHOTOGRAPHY TOURS
Street photography with your smartphone, tour of Budapest
Budapest looks different through your phone camera. This one-day street-photo tour in Central Hungary guides you to specific spots with practical smartphone tricks, then adds a fun twist: a photographer and drone capturing your journey.
I like how clearly Luigi Cantel explains composition basics you can use immediately, even if your camera skills are shaky. I also love that the route focuses on real photo moments, not just monuments from the brochure.
The best part is that you don’t just photograph Budapest—you end up in the photos too, via professional drone captures and drone footage of the main sights. One thing to consider: it’s an active walking route with several short stops, so comfy shoes matter more than you’d think.
In This Review
- Key highlights you’ll feel fast
- Where it starts: Fővám tér 5 and getting your phone ready
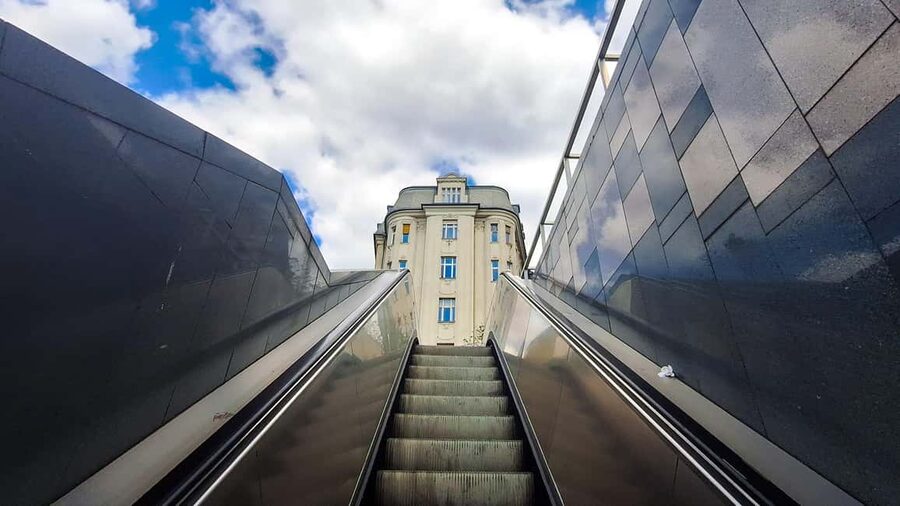
- Liberty Bridge: framing the Danube without the usual chaos
- Central Market Hall: close-up street details you can actually use
- Kalvin Square and the metro area: motion, timing, and human scale
- Bikás Park: a calmer photo pause that changes your rhythm
- The drone twist: getting pro photos of you, not just the city
- The practical side: what you’ll learn about smartphone photography
- Editing on your phone with the free Lightroom app
- Price and value: why $16 can make sense
- Should you book this Budapest smartphone street photo tour?
- FAQ
- FAQ
- How much does the Budapest smartphone street photography tour cost?
- How long is the experience?
- Where is the meeting point?
- What should I expect during the tour?
- Is the drone part included?
- Are landmark entry tickets included?
- Will I get the photos on my phone afterward?
- Is there editing help included?
- Is the group private, and can I go alone?
- Is the tour wheelchair accessible?
- Can I cancel if my plans change?
Key highlights you’ll feel fast
- Smartphone street-photo instruction at each stop, with easy-to-follow reasons for each framing choice
- Hidden-ish points and local angles that go beyond the obvious tourist shooting spots
- You get photographed by a professional, plus drone photos and footage of the experience
- A clear route built for practice, not random wandering
- End-of-tour help editing on your phone using the free Lightroom app
- Small-group, patient guidance that works even if you’re alone or new to phone photography
A photographer to catch you against Budapest
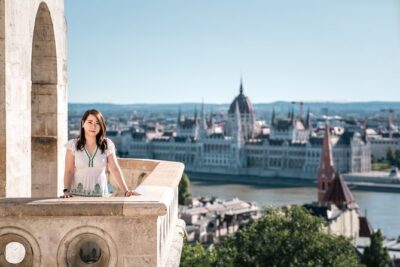
- Private photography photo session at Fisherman Bastion★ 5.0 · 269 reviews
- Budapest photoshoot&sightseeing★ 5.0 · 107 reviews
- Budapest: Walking Tour and Photoshoot with Digital Photos★ 4.7 · 82 reviews
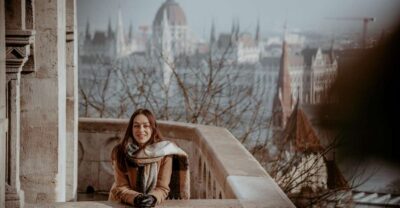
- Budapest: Vacation Photographer to collect great memories★ 5.0 · 49 reviews
Where it starts: Fővám tér 5 and getting your phone ready
The tour meets in front of Starbucks at Fővám tér 5 (1056). That’s a helpful anchor point because Budapest can feel like a puzzle at first. Once you’re gathered, the vibe is straightforward and calm: this isn’t a photography boot camp. It’s more like learning how to see, then immediately practicing it on the streets around you.
Luigi’s approach matters because street photography is often intimidating. You want to capture something real without feeling awkward. A guide who’s welcoming and patient helps a lot, especially if you don’t know where to start on your smartphone. You’ll get direction for what to do at each location—where to stand, what to include, and how to use light and angles to your advantage.
Also, starting time can be adjusted based on the weather. That’s not a tiny detail. In a city like Budapest, light changes fast, and cloud cover can make the difference between flat and dramatic photos. If conditions are good, you’ll likely get more flattering shots and cleaner contrast. If they’re not, the guide can work with that.
Liberty Bridge: framing the Danube without the usual chaos
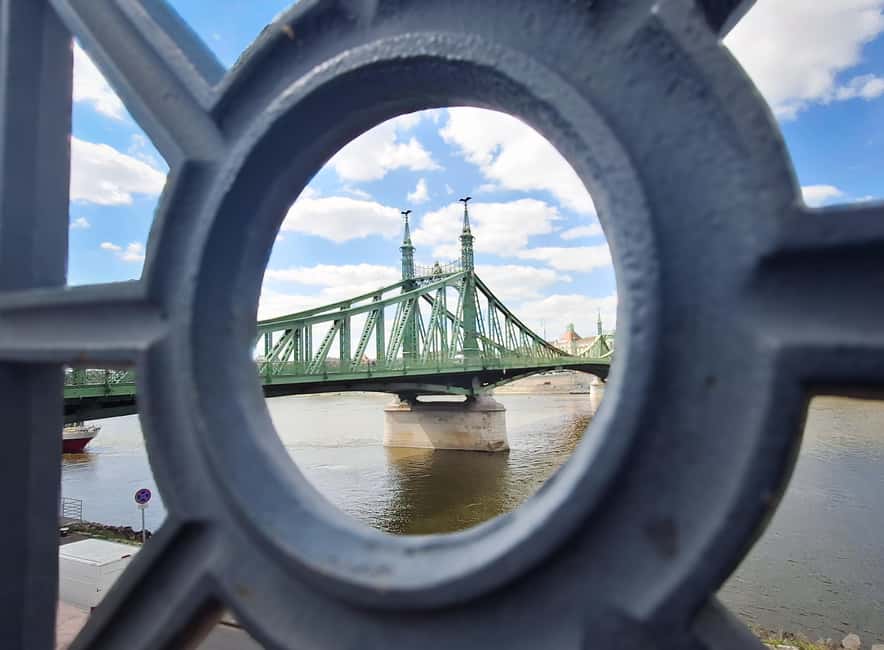
One of the first photo stops is Liberty Bridge. It’s the kind of place where you can take a photo and instantly know it’s a “tourist shot,” mostly because everyone aims from the same direction with the same composition.
Here, the point is to break that pattern. You’ll get instruction on how to photograph a specific viewpoint and why. That “why” is the secret sauce. It turns random clicking into choices you can repeat later: how to control the background, how to guide the viewer’s eye, and how to avoid framing that feels busy or cluttered.
A short stop (about 20 minutes) is perfect for this style of learning. You’re not stuck forever waiting for the perfect moment. Instead, you practice, adjust, and practice again. If you’re nervous about taking photos in public, this early stop also helps you loosen up. You’re doing it with guidance right next to you, and you’ll likely catch the rhythm faster than you expect.
Central Market Hall: close-up street details you can actually use
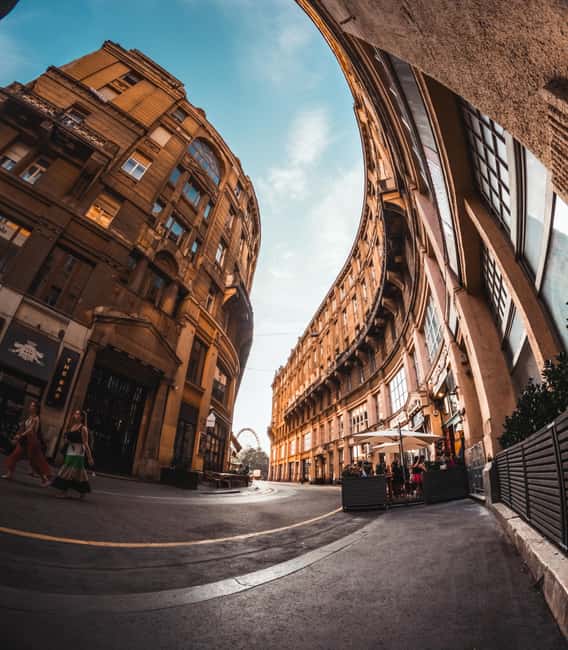
Next up is Central Market Hall of Budapest, another spot that can easily turn into “stand outside and take a postcard.” This stop works better because the guidance pushes you toward photo moments beyond the obvious wide view.
Market areas are busy by nature: people move, signs compete for attention, colors pop, and the light can be mixed. That’s exactly why it’s a great place to learn smartphone technique. You’ll be shown how to photograph a point and what to pay attention to as you frame—things like avoiding distracted backgrounds, finding angles where the architecture and activity make sense together, and using visual contrast to keep your photo from looking messy.
The benefit for you is practical: the same thinking you use at a market transfers to street corners anywhere. Instead of copying a shot, you learn how to construct one. And since the stop is about 20 minutes, you get enough time to try a few approaches without the tour dragging.
One drawback to keep in mind: markets can be crowded, and sometimes it can feel like you’re negotiating for position. That’s normal. If you want calmer photos, pay attention to how the guide times stops and how you move between angles rather than trying to force one perfect spot.
Kalvin Square and the metro area: motion, timing, and human scale
Then you head to Kalvin Square, another high-energy location. Squares are tough for photos because they’re transitional spaces—people cross, traffic swirls, and the city’s energy shows up in motion blur if you’re not paying attention.
This is where the tour’s structure helps. You’re given instructions for specific points, and you practice photographing what’s happening while keeping the image readable. You’ll also get a short stop connected with the subway/metro area (around 10 minutes). Even without going deep into landmark interiors, that brief metro stop is useful because it gives you a taste of photographing architecture and movement in one of Budapest’s busiest environments.
Why this matters: smartphone street photography isn’t only about buildings. It’s about scale and interaction—capturing the city as a lived place. A guide can help you see how to include people naturally without turning your photo into a random snapshot.
If you’re hoping for quiet landscapes or empty streets, this part may not match that mood. But if you want Budapest to feel real—people, transit, motion—you’re in the right place.
At your own pace, phone in hand


Bikás Park: a calmer photo pause that changes your rhythm
After the more active stops, you reach Bikás park for another photo stop (about 20 minutes). Parks are a nice counterweight in a street-photo tour because they give your eyes a break from dense scenes. They also let you practice different framing skills: more room for lines, less visual noise, and often more forgiving light.
This is also a smart part of the route because it changes your pace. You’ll spend time walking through the city, then shift to a different kind of composition. Instead of chasing crowds, you can focus on how the environment frames your subject and how you position your phone to create depth.
For beginners, this stop can be confidence-building. If you’ve struggled at busy locations, a park gives you a smoother learning curve. You can test ideas—angles, perspective, and what to include in the frame—without feeling like every second is a scramble.
The drone twist: getting pro photos of you, not just the city
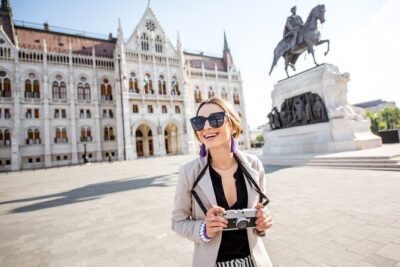
Here’s the fun part that’s easy to underestimate until you experience it: a photographer snaps photos of you using a drone, and you get to see drone footage of yourself taking in Budapest’s main sights.
This is valuable because so many street photography outings leave you out of the story. You end up holding the phone for everyone else to be photographed, then you return home with pictures of bridges and buildings—missing the part where you were there.
By adding drone capture, the tour solves that problem. You’re not just learning how to frame; you’re also learning how to show up in the frame. Even if you feel stiff during photos, a professional presence can make it easier to relax. And since the guidance often includes tips about posing and angles, you’ll likely come away with photos that feel more natural.
Is it worth it? For me, yes—because the drone results give you a “Budapest postcard, but with you” effect. It’s not just city imagery; it’s a memory with a point of view that you can’t recreate on your own in most cases.
The practical side: what you’ll learn about smartphone photography
This tour is built around the idea that you learn faster when instruction and practice happen at the same time. At each stop, you’re told how to photograph a certain point and, importantly, why that framing works.
From the experience feedback, the teaching style lands well with people who want structure. Luigi explains things clearly, and he’s patient even when you don’t know your phone camera settings or you feel unsure about composition. You’ll also get composition basics, plus guidance that helps with what to do with your body and how to use light more intentionally.
The big takeaway: after you’ve practiced on real streets, you’ll start noticing photo opportunities everywhere. You’ll see a leading line sooner. You’ll recognize when a background will ruin a shot. You’ll have a sense of how to adjust for the lighting you’re actually dealing with in the moment.
If you’re the type of traveler who always takes photos but feels like they could be better, this is a strong fit. If you’re only interested in rapid sightseeing photos with zero learning, you might find the instruction adds time. But even then, you should still like it for the final photo set and the chance to be photographed professionally.
Editing on your phone with the free Lightroom app
At the end, you get your photos on your smartphone. Then, if you want, Luigi shows you tricks for editing using the free Lightroom app. This is one of those “small” add-ons that often makes a big difference.
Straight from the camera, phone photos can be fine, but editing is where your image starts looking intentional. Even simple tweaks—cropping, adjusting light, refining color—can turn a decent street shot into something you want to share.
What I like about the setup here is that you’re learning editing in the same context as the tour. Your photos are already chosen and taken with the tour’s framing lessons in mind, so you can edit with purpose rather than randomly scrolling presets.
If you’ve never edited before, this is a low-pressure way to learn. You’re not starting from scratch—you’re working with photos you already care about.
Price and value: why $16 can make sense
The price is $16 per person for a one-day experience, and the value comes from what’s included, not just the time.
You’re getting:
- Guided walking along a route with photo stops
- Instruction tailored to what you’re actually photographing
- Professional capture of you via drone photos/footage
- Photos delivered to your phone at the end
- Optional editing help with the free Lightroom app
For that price, the most convincing value is the combination of guided learning + professional capture + practical editing. Many photography experiences charge more for just one component—either a tour guide or editing tips, but not the full package.
Two practical considerations:
- Since entry tickets to landmarks are not included, if you want to go inside any attractions you’ll need to plan that separately.
- Because it’s a walking route with multiple stops, you’ll want to keep your day flexible. If your schedule is tight, coordinate around the starting time.
Group style is also a plus: it’s private group oriented, and Luigi prefers small groups, but it’s fine if you’re traveling solo.
Should you book this Budapest smartphone street photo tour?
Book it if you want photos that feel like you made choices—not just pressed the shutter. This tour is especially good for:
- First-time visitors who want to see more than the obvious viewpoints
- People who already take lots of photos but don’t know how to improve composition
- Travelers who want to be in the photos (not only behind the phone)
- Beginners who prefer patient, practical teaching over complicated camera talk
Skip it if you’re looking for a quiet, no-instruction sightseeing day. This is a photography-focused walk, and you’ll be stopping to practice. But if you’re even mildly curious about smartphone composition, it’s a fun way to turn a day in Budapest into something more personal.
FAQ
FAQ
How much does the Budapest smartphone street photography tour cost?
It costs $16 per person.
How long is the experience?
It’s listed as a 1 day experience.
Where is the meeting point?
You meet in front of Starbucks at Budapest, Fővám tér 5, 1056.
What should I expect during the tour?
You’ll walk along a pre-established route in Budapest, get instructions on how to photograph specific points and why, and visit points you might not know as a tourist.
Is the drone part included?
Yes. A professional will snap photos of you using a drone, and you’ll be able to watch drone footage showing you seeing the main sights of Budapest.
Are landmark entry tickets included?
No. Entry tickets to landmarks are not included.
Will I get the photos on my phone afterward?
Yes. At the end, you’ll have the photos on your smartphone.
Is there editing help included?
If you want, you’ll get tricks to edit a photo with the free Lightroom app.
Is the group private, and can I go alone?
It’s a private group. The guide prefers small groups, and if you are alone, it’s fine.
Is the tour wheelchair accessible?
Yes, it’s listed as wheelchair accessible.
Can I cancel if my plans change?
The experience offers free cancellation up to 24 hours in advance for a full refund.
More Tours in Budapest





More Tour Reviews in Budapest




Budapest, Better Framed




Just Added: More Budapest Reviews
- Sightseeing flight over Budapest
★ 5.0 · 3 reviews - Budapest: Walking Tour with Chimney Cake & Polaroid Photos
★ 5.0 · 3 reviews - Self Guided Tour In Budapest With 100 Captivating Audio Stories
★ 5.0 · 3 reviews - Budapest Art Nouveau Walking Tour
★ 5.0 · 3 reviews - Hungary today: a no-taboo conversation
★ 5.0 · 3 reviews
Photography Tours, compared.
 ★ 5.0Private photography photo session at Fisherman BastionFrom $45269 reviews
 ★ 5.0Budapest photoshoot&sightseeingFrom $114107 reviews
 ★ 4.7Walking Tour and Photoshoot with Digital PhotosFrom $7782 reviews
 ★ 5.0Vacation Photographer to collect great memoriesFrom $11849 reviews
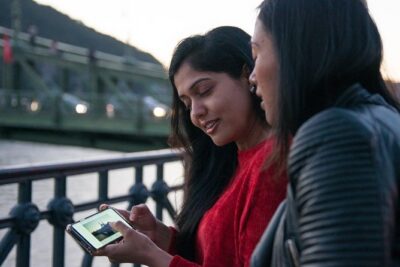 ★ 5.0Budapest Photo WalksFrom $17936 reviews
 ★ 5.0Budapest Private Guided Tour with Photoshoot – Big(3hrs)From $12633 reviews
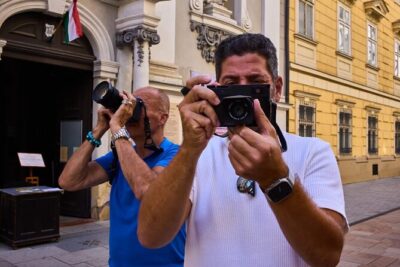 ★ 5.0Budapest Street Photography by Lukacs GaborFrom $15630 reviews
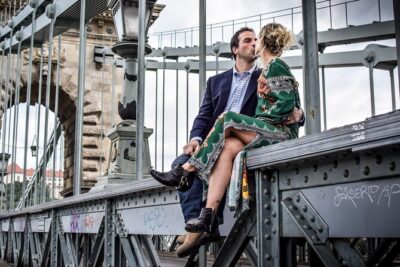 ★ 5.0Vacation Photographer in Budapest at Fisherman’s BastionFrom $11122 reviews
Browse the lists this tour appears in